
WebRTC Made Simple
WebRTC is a set of JavaScript APIs that enable peer-to-peer, realtime communication between web browsers. It offers some pretty amazing capabilities, but getting through even a basic introduction to it can be daunting. The variety of new APIs and protocols is a lot to digest. This post is a simple guide to getting up-and-running with WebRTC.
Overview of Concepts
Before we get into code, let’s review the APIs that make up WebRTC. If this information is a bit abstract, don’t worry – we’ll be getting to a concrete example soon.
MediaStream
A MediaStream is a stream of audio and/or video data. When working locally, one can be obtained by calling getUserMedia. After a successful WebRTC connection is established, access to the remote browser’s media stream will be available.
Here’s a simple example of getUserMedia (courtesy of simpl.info/getusermedia/):
RTCDataChannel
RTCDataChannel is a bidirectional channel to send arbitrary data over a WebRTC connection. It works similarly to web sockets, but it’s peer-to-peer, and it allows you to trade message reliability for speed (think UDP vs. TCP). A simple demo is available at http://simpl.info/rtcdatachannel/.
RTCPeerConnection
The glue that turns Media Stream and RTCDataChannel into WebRTC is RTCPeerConnection. In order to establish the call, RTCPeerConnection provides an API to complete a handshake between two browsers. During this handshake, the browsers share the information necessary to set up their peer-to-peer connection: session descriptions (browser capabilities) and ICE candidates (publicly accessible IP and port information). It’s worth noting that the WebRTC specification says nothing about how this information is exchanged.
The steps are roughly:
- Originating browser creates an offer with a session description
- Receiving browser receives offer and creates an answer with a session description
- Originating browser receives the answer
- Both browsers exchange ICE candidates
- When enough candidates have been exchanged for a direct connection to be possible, the peer connection is established
Let’s build something!
We’re going to build simple video chat (the “hello world” of WebRTC). We’ll use Rails, but as you’ll see, the backend component of our system is small and could be easily implemented with any framework.

Who’s there?
It’s going to be difficult to set up a connection without knowing who we can connect to. Pusher’s presence channels make this easy. First, we’ll need to sign up for a Pusher account. Their free plan will be sufficient for getting our app running. Once you’ve signed up, take note of your app id, key, and secret. Also, on your Pusher app’s settings page, make sure to enable client events – we’ll need those later!
To use presence channels, Pusher requires clients to authenticate. Authentication involves signing the client’s user id and information so that Pusher can verify the client’s identity. This will be the only server-side component of our system:
For simplicity, we’re allowing the client to set its name and user id. In a real system, we’d want to use server-authenticated credentials. Since the Pusher secret is only available on the server (and the credentials are signed), the client then couldn’t forge its identity.
Making the offer
Now that we know who we can talk to, we need to set up the RTCPeerConnection to make a call. Rather than use the APIs directly, we’ll use simple-peer. SimplePeer eliminates the need for us to manage the handshake process. Here’s an example from its README, with two peers connecting to each other in the same browser:
We create two peers and specify that one of them is the initiator (it will make the offer in step 1 of the handshake process). Then we wait for signals from each peer, passing the signal to the “remote” peer when they are available. When the peer connection is ready, we can send data between them.
To adapt this to work for our system, we just need some way to send the signalling messages to a remote peer. We can leverage our existing Pusher channel to accomplish this. Each client will listen for events keyed to its user id, and when signaling messages need to be sent, we’ll use the appropriate event:
The initiator of the call sets up a new SimplePeer and sends signalling messages over the shared channel to the desired recipient user. The call recipient, upon receiving the first signal, sets up a new SimplePeer and starts sending signalling messages back to the initiator.
Adding video
Let’s add in a video stream:
There’s not much to it. We call getUserMedia and save the stream it returns. When we initialize SimplePeer, we pass it our local stream, and we subscribe to a stream event, which will be fired when the remote stream is available.
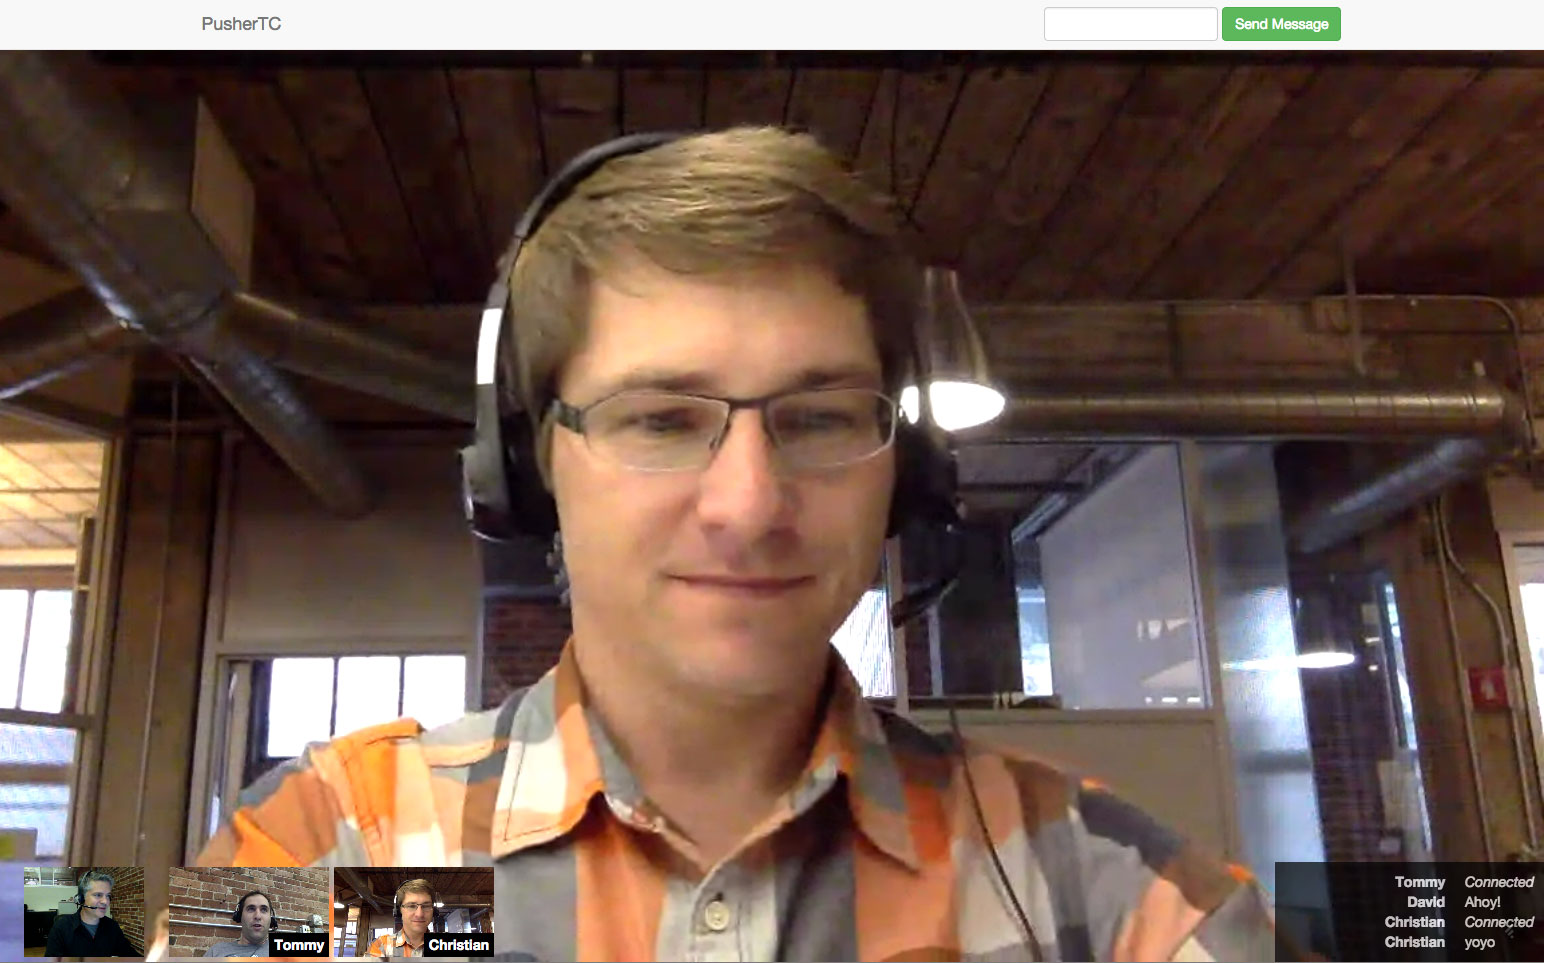
For the most part, our WebRTC implementation is done! Here’s the demo, which builds from these examples to a no-frills, single-room Google Hangout (source available on GitHub).
Closing thoughts
WebRTC is a game changing technology, enabling a wide range of applications that were previously impossible on the web. Currently, support is available on Chrome, Firefox, and Opera on desktop, and on Chrome for Android on mobile. Fortunately, these browsers already make up a major chunk of web traffic, and the support should only get better.