Field Notes from Carbon Five
A blog to help you navigate the world of product management, engineering, and design.

Redux Minus Redux With React Contexts
When it comes to state management in the front end, Redux has long reigned supreme. With the development of Contexts, we’re now seeing the beginning of an alternative which is brand new, but also capable of being completely familiar for long-time Redux fans. Using React Contexts with Redux-like paradigms is a good way to embrace …
Celebrating Black History Month 2021
Throughout the month of February, we were excited to celebrate Black History Month (BHM) by honoring Black leaders, spotlighting Black community achievements, and sharing Black stories with our team at Carbon Five. Each week, we hosted company-wide activities to encourage learning and open discussion on how Black history has contributed to and helped shape the …
Carbon Five Roll Call: Rico Rodriquez Collins, Software Engineer
Carbon Five Roll Call is a blog series introducing you to our team of product managers, designers, and software engineers at Carbon Five. Learn more about us and how we can help support your next project. Meet Rico! Name: Rico Rodriquez Collins Title: Software Engineer Hometown: Jacksonville, Florida Carbon Five office: Santa Monica
Think Your Agile Team Might Be Doing Waterfall In Disguise?
Given the rise in popularity around agile development, I thought it would be interesting to explore the most common software development characteristics across the wider tech industry. How are most companies developing and releasing products? How does this compare to what industry leaders are teaching? What can be learned for this exploration?
Carbon Five Roll Call: Dimas Guardado, Principal Developer
Carbon Five Roll Call is a blog series introducing you to your next team of product managers, designers and software engineers. Learn more about us and how we can help support your next project. First up in 2021, meet Dimas! Name: Dimas Guardado Title: Principal Software Engineer Hometown: La Puente, CA Carbon Five Office: Santa Monica
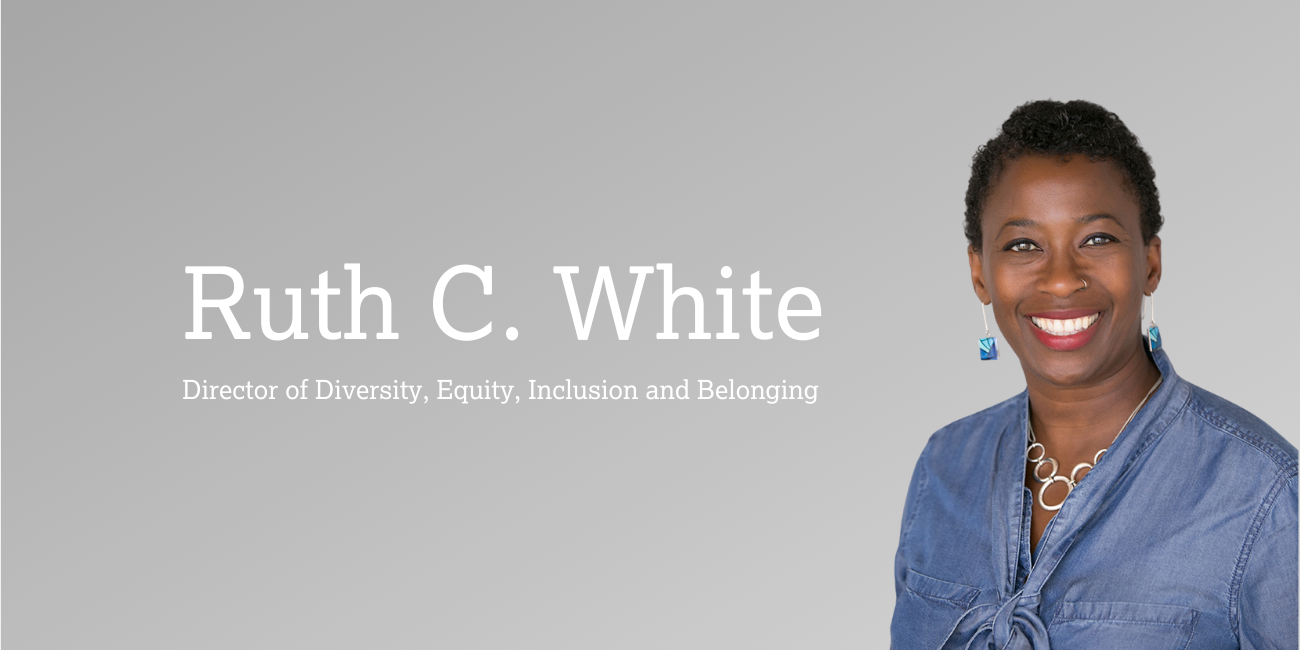
Carbon Five Hires Diversity, Equity, Inclusion and Belonging Leader
We’re excited to announce that Ruth C. White, PhD, MPH, MSW has joined the Carbon Five team as Director of Diversity, Equity, Inclusion, and Belonging (DEIB). In her new role, Dr. White will lead the development and implementation of DEIB strategy and programming at Carbon Five. She will work closely with leadership and the greater …
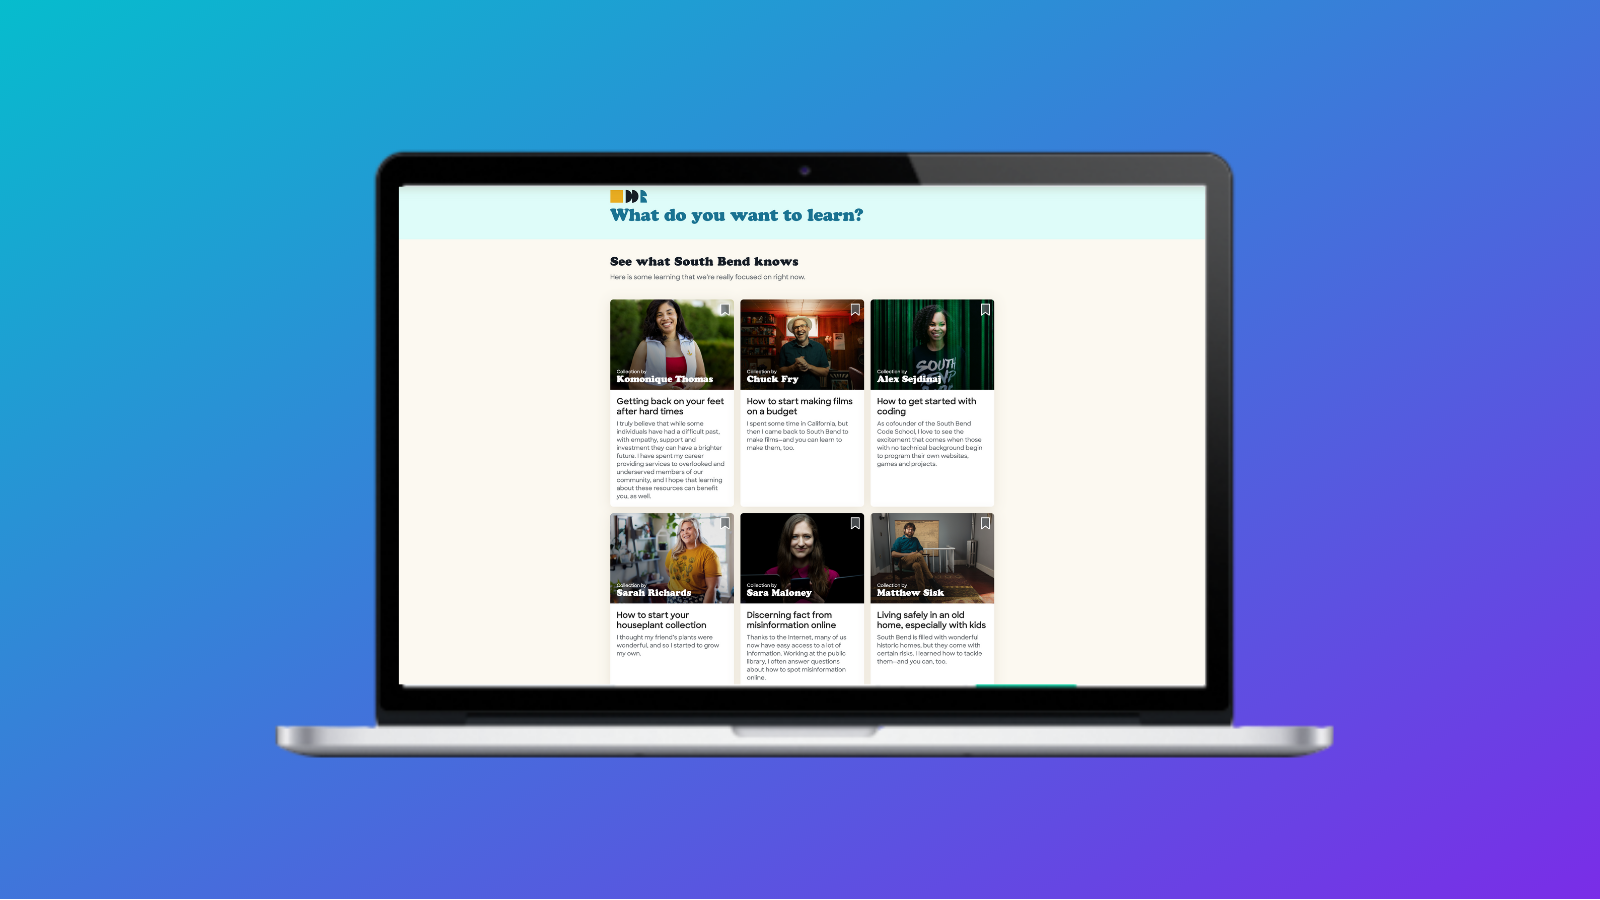
Lessons from Developing a Community Learning Platform – Bendable.com
An interview with Rick Wartzman and Sarah Zaner. In the midst of a global pandemic, Carbon Five client, Drucker Institute, launched Bendable, a community-based learning platform, in June 2020. We sat down with Rick Wartzman, Executive Director, and Sarah Zaner, Senior Director at KH Moon Center for a Functioning Society at Drucker Institute, to learn …
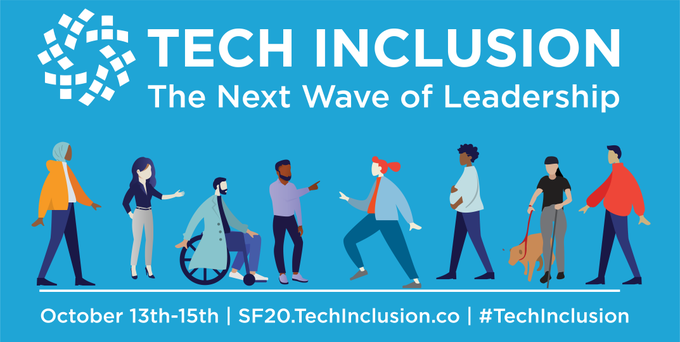
Carbon Five Sponsors Tech Inclusion 2020: The Next Wave of Leadership
We’re excited to announce our sponsorship of Tech Inclusion: The Next Wave of Leadership, an all-virtual conference in 2020, hosted by Change Catalyst on October 13-15.
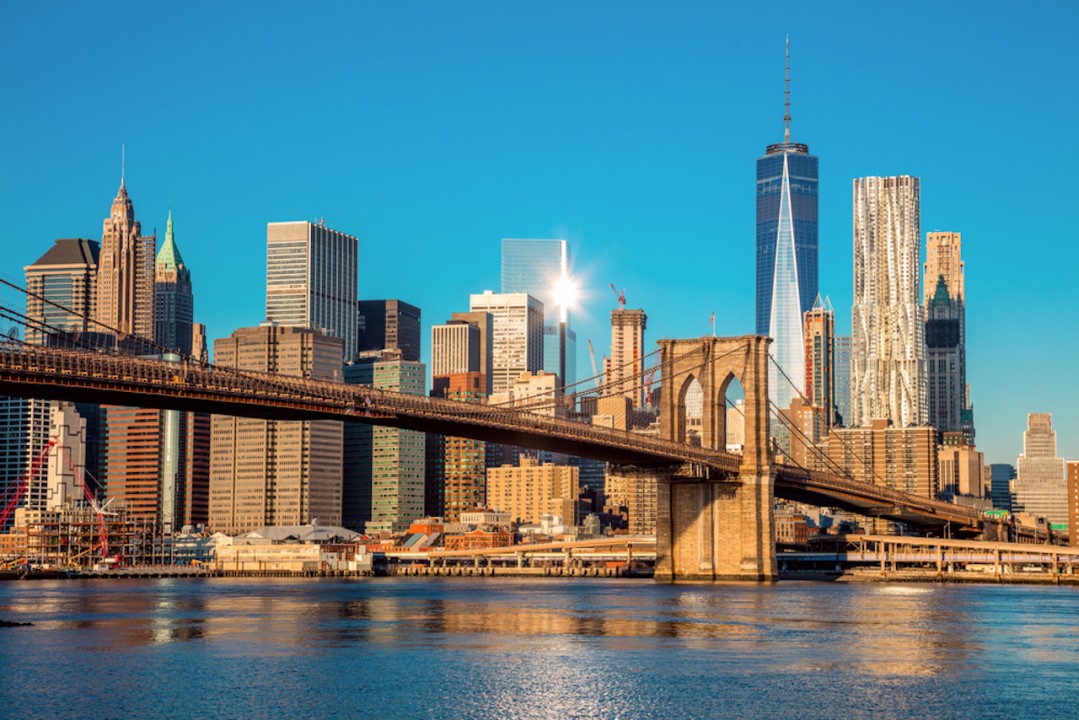
Finding Meaning in Mentorship at Scale
Last month, Carbon Five New York participated in Tech: NYC’s Summer Bridge 2020 program in coordination with local nonprofit, El Barrio’s Operation Fightback. Summer Bridge is the nation’s largest youth employment program, giving some 35,000 disadvantaged NYC teens and young adults paid experience along with an opportunity to build important life skills and get exposure to new …
Carbon Five Roll Call: Mandy Valladares, Senior Product Designer
Carbon Five Roll Call is a new blog series introducing you to your next team of product managers, designers and software engineers. Learn more about us and how we can help support your next project. Meet Mandy! Name: Mandy Valladares Title: Senior Product Designer Hometown: San Francisco, CA Carbon Five Office: New York