The Carbon Five Guide to User Research: The What’s, How’s, and Why’s of Prototyping
If you’ve been following along with our guide to user research, great! By now you’ve defined your feature set and are ready to try out your ideas. You know your product will be validated by user research and match user needs. You know that you need a version of the product to test your solutions and before writing any production code.
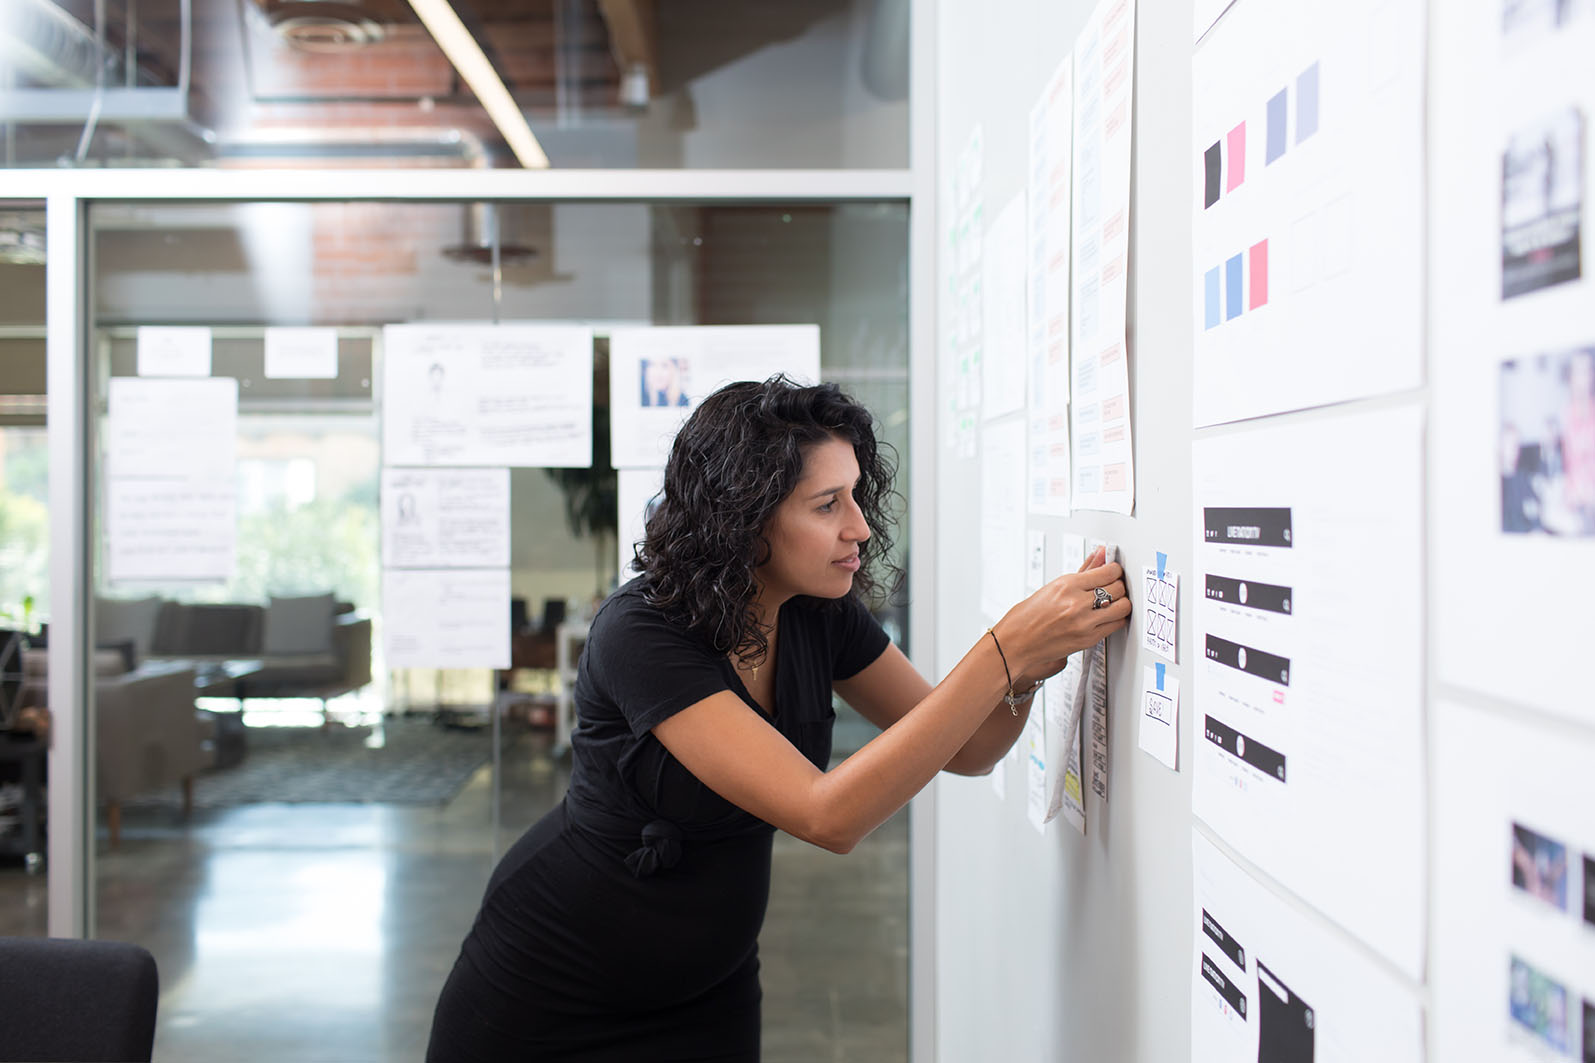
Now, we are going to walk through some of the best ways to get the feature set you have in mind into a useful prototype. Some rules of the road to follow before you begin creating prototypes:
- The more the merrier: Come up with as many ideas to prototype as you can; this will help you evaluate your product with both your team and with your users.
- Iterate, iterate, iterate: Once you have the ideas make sure you evolve them through multiple rounds before you throw them out. This is your time to try stuff out and have fun. If you don’t explore broadly at this stage, when will you?
- Use these prototypes to learn: Prototyping is most powerful when it is used to test a hypothesis and to learn about your users and what they want. Don’t think of the prototypes as a final design but as a way of learning what your final design might be.
Without further ado, here are our six favorite prototyping techniques.
Role playing
Difficulty level: Easy
Best for: Getting your client involved and breaking the ice or exploring multiple use cases quickly.
Role playing is one of my personal favorites. The idea is to write a little play about your users, their problems, how your product solves them, and then act it out with your team. The key here is that you do it collaboratively: once you get over the initial embarrassment, it’s tons of fun and gets everyone involved in exploring the problem space. This is the cheapest and most participatory prototyping option.
Read more about role playing.
Paper Prototypes
Difficulty level: Easy
Best for: Communicating quick ideas in the moment.
Paper prototypes can come in many forms but think of them as souped-up sketches: take your existing design artifact, print it out, and animate it using your good old hands. These are fun and a great way to work through complex ideas without having to make them high fidelity. Try making and testing these prototypes collaboratively with stakeholders — it’s much easier to share the experience than to try and explain the insights after the fact.
Read more about paper prototypes.
Storyboarding
Difficulty level: Medium
Best for: Outlining the biggest chunks of a product flow in order to test them with your team or users to ensure they make sense.
This is one of the most widely used methods, and also one of the quickest. Storyboards are a visual narrative that helps create empathy and are especially good at communicating the context for the product — who it’s for, the problem they have, and where they encounter it. They also can help you figure out how the overall product features might function as a whole. Think of a storyboard prototype as a short comic (usually less than a dozen panels) that illustrates the story of the target user and your product. They could be photo realistic illustrations or stick figures along with some text, as long as they can communicate the features and context of your product there great.
Read more about storyboarding.
Interaction Modeling
Difficulty level: Medium
Best for: Ideating on very different product concepts and features (i.e. comparing apples to oranges)
Interaction modeling isn’t as well known as paper prototyping, but it is very useful. It can be both fun and effective in pushing your product outside of your assumptions.
Here’s how it works: Let’s say your product is trying to solve childhood obesity and you have an idea for features, but you are worried you aren’t exploring solutions broadly enough. You are currently assuming it should be a recipe app, but have you considered any other types of interactions?
The basic idea in interaction modeling is to take your current ideas for features and capture the assumed interaction model. Then, try and reframe those same features to fit with another product’s solution metaphor. For instance: what if you tried to solve childhood obesity with disappearing content like Snapchat? What if you tried it with streaming video like Netflix?
The seemingly random combinations can help push your concept. Then, test them out see what you can learn — often you won’t keep these ideas wholesale, but they are great to see different types of interactions and get you unstuck from your assumptions or creative block.
Read more about interaction modeling.
Clickable Prototypes
Difficulty level: Medium to Hard
Best for: Communicating and testing complete feature sets and polished flows.
Animated, clickable prototypes (sometimes called high-fidelity prototypes) are often the first (and last) kind of prototype people use. But beware: they can get take a long time, require a high-degree of product definition, and often feel more ‘final’ than the ideas behind them.
Instead, once you feel ready to jump into screens, think about what level of fidelity you ought to be making based on how confident you are in the design and use this to time-box how much time you want spend on it. When you present and test them, try and take everything with a pinch of salt. Often these can get confused with a “final” design (especially by stakeholders), so you need to carefully set the expectation that they are for learning and not a product specification.
That said, clickable prototypes are great to explore what an app should look like, what the information architecture might be, and how the user will interact with the product. Because they can feel so real, they are great for user testing in the wild.
Read more about clickable prototypes.
Video Scenarios
Difficulty level: Hard
Best for: Expressing complex ideas, showing product use through time, and defining clearly who your users are
Video scenarios are the storyboards on steroids and are a very effective way to express the emotional texture and nuance of users and their experience of your product. These scrappily-produced videos are short (often just 30-45 seconds) narratives that introduce the user, shows them having the problem your product addresses, and then shows aspects of your product and the (hopefully positive) outcomes for the user.
Video scenarios are wonderful because they can communicate ideas with more speed and depth than storyboards and are therefore great to present to external stakeholders. That said, they take much longer to make and are less useful for testing with users. Just remember, it’s not necessarily the quality of the video or sound that make these successful but the story you are trying to tell.
Read more about video scenarios.
As you give these six prototyping techniques a try, be sure to make an informed choice about what strategy you use, when. And remember that prototyping can be some of the most rewarding work you can do as a designer: it connects us to our users directly through our craft. Finally, don’t be precious with your prototypes and take them too seriously. Have fun and happy prototyping!
One last thing: if you need help or want to try this firsthand with Carbon Five, look into our User Research Sprint.